Ponds are an excellent feature to build when you are looking to enhance your garden. They attract wildlife and are a great choice if you are considering making your garden or outdoor space a more relaxing environment.
However, a standard in-ground pond can be costly and time-consuming; therefore, building a raised garden pond could be your best solution for this outdoor DIY project.
Continue reading to learn how to build a raised pond with step-by-step instructions, which, unlike an in-ground pond, is easy, cost-effective, and won’t require any digging!
Benefits of Building a Raised Pond
There are many benefits to building raised ponds compared to in-ground ponds.
1. Raised ponds may be safer than in-ground ponds
Compared to in-ground ponds, a raised pond can be safer due to the elevated design. A raised pond is ideal if you have children or pets who like to run around and explore the garden. The raised nature of the pond means you do not have to worry about anyone accidentally falling in.
A raised pond for your outdoor living space can also protect your pond inhabitants from the harm of other wildlife. Raised ponds can also prevent your children from interfering with the fish and plants in your pond.
2. Raised ponds are easy to manage
Raised ponds are easy to manage for an array of reasons, initially because they do not require digging up the existing soil in order to implement them.
Secondly, cleaning the pond, feeding the aquatic life, and checking the health of the inhabitants is much easier in a raised pond, particularly if you suffer from any accessibility issues.
Planning Your Raised Pond
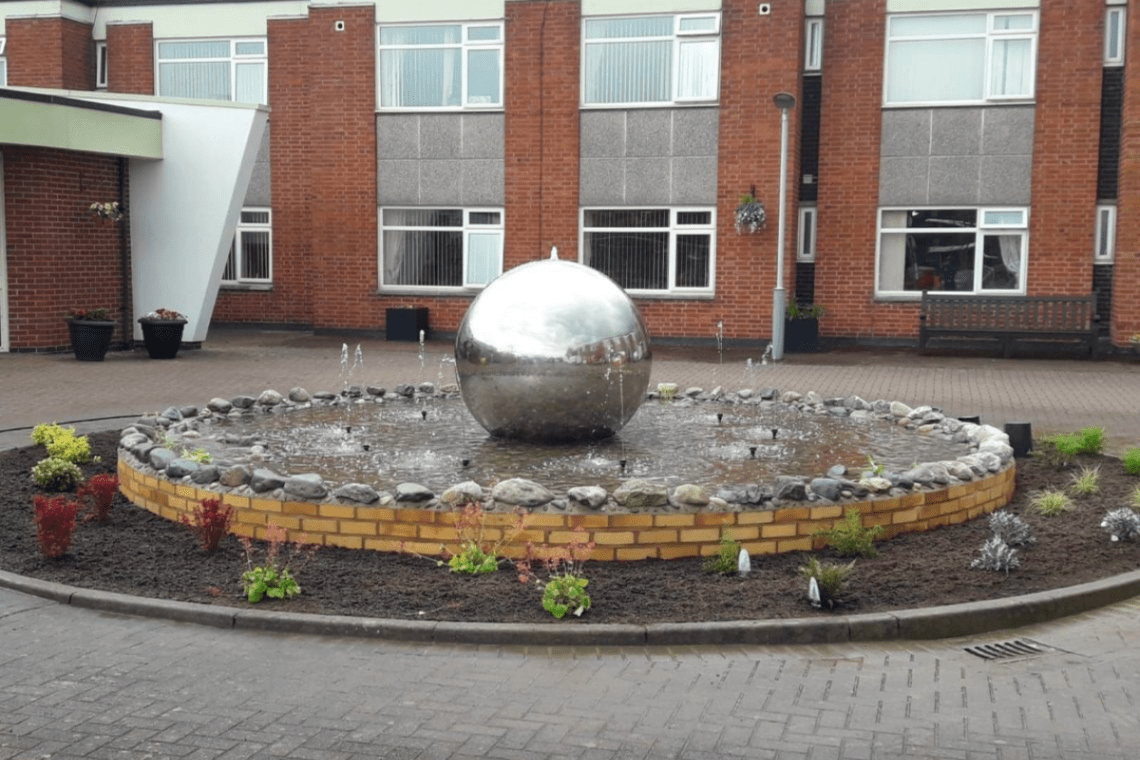
A pond is a great way to enhance your living environment and requires planning for it to blend seamlessly in your garden or outdoor space.
Firstly, decide whether you are going to use timber, concrete blocks, or brick to build your pond and then come up with the detailed design, including size and shape.
The easiest way to build a raised pond is with railway sleepers because it holds back the water pressure when it is joined with sealant. Therefore, decide if you are going to build a square or rectangular shape. Railway sleepers typically come in L-shaped sizes of 6″x3″ and you can create a 6″x6″ pond with them.
Brick or concrete block raised ponds provide the best strength and longevity and therefore are optimal for a koi pond. Aesthetically, brick, railway sleepers, and concrete will give you more of a rustic look, whereas wooden ponds or a raised timber pond will create more of a contemporary look for your garden.
Materials and Tools Needed to Build a Raised Pond
The tools needed for building a pond will depend heavily on whether you’re building your pond from timber, concrete blocks, or brick, so keep that in mind when ensuring you have everything you need.
For installing raised garden ponds, you will need the following:
- Pond liners
- Tape measure
- Spirit level
- Water filter and pump
- Shovel
Step-by-Step Construction Guide for How to Build a Raised Pond
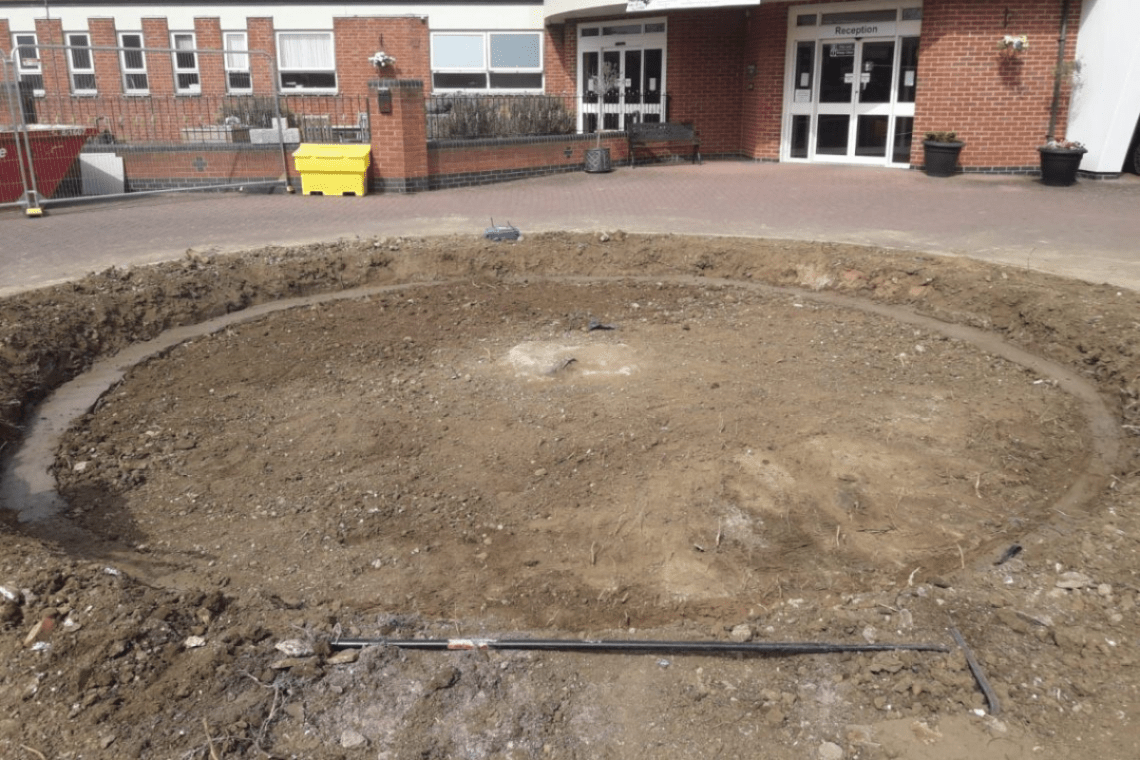
Determining where to start when figuring out how to build a raised pond can be daunting. Here are step-by-step instructions to build a perfect pond.
1. Choose a location for your pond
You should consider the placement of your pond before building it. Ideally, your pond should be in an area where it is visible and accessible. For example, a good place to put your pond would be within an outdoor seating area, like a patio or cabana in your garden. Also keep in mind that it should be close to a power point for the filtration system, or if this is not an option, then decide how you will bring power to the area where you are planning to install the pond.
2. Ensure the ground is level
Your garden pond installation should be in a location where the ground is even to ensure the water does not overflow on one end or side. It should also be protected from sharp objects that can potentially puncture the lining and compromise its watertight nature, including stones, tree roots, or any other hazardous items.
To check if the ground is even, you can put a piece of wood on the area and place your spirit level on top. If it is not flat, you can even out the surface with a shovel, but this is the most digging you’ll have to do, which is a lot less labour intensive than compared to building an in-ground pond.
3. Build the pond frame
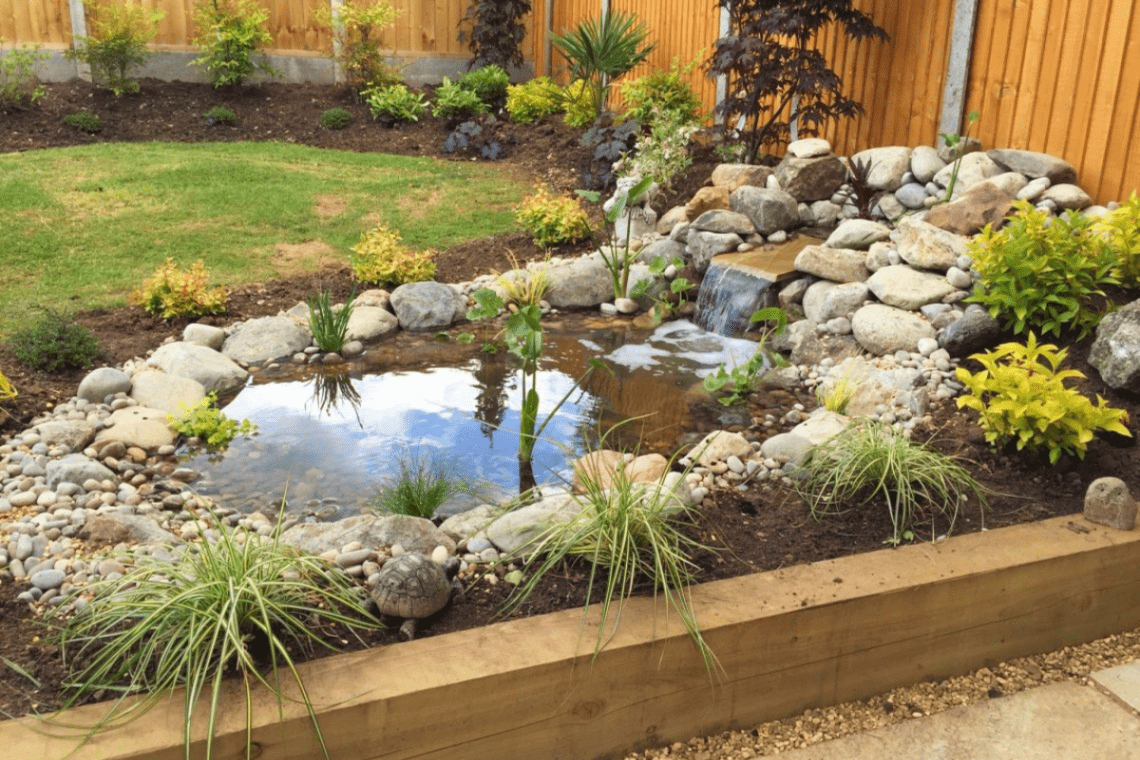
Building a pond frame with railway sleepers or timber requires precision and attention to detail. Follow these steps for a durable and visually appealing raised pond:
Plan and Shape the Frame:
- Arrange railway sleepers in your preferred shape, ensuring corners form accurate 90-degree angles.
- Secure the sleepers with sturdy 90-degree angle brackets for a stable base.
- Complete the first layer of sleepers, checking for alignment and stability.
- Add additional layers, one at a time, until you reach the second-to-last layer of your desired height.
- Check that all layers are evenly stacked for structural integrity.
Add the Pond Liner:
- Inspect the sleepers for screws or sharp edges that could damage the liner.
- Lay down a pond underlay for added protection.
- Place the pond liner over the frame, ensuring it overlaps slightly to prevent leaks.
Secure and Finish the Frame:
- Add the final layer of sleepers to hold the liner securely in place.
- Trim any excess liner around the outer edges for a neat finish.
- Optionally, attach timber capping to the top layer for a polished appearance.
Alternative Timber or Decking Method:
- Measure and cut timber or decking strips to your desired size.
- Nail the strips together to create a sturdy frame.
- Install corner posts of matching height to support the structure and withstand water pressure.
By following these steps, you’ll create a strong and professional-looking raised pond frame ready for the next stage of your pond-building project.
4. Fill the pond with water
This is the best step because you get to witness your pond come to life. Ensure that the water level does not reach past the point of the final layer of your sleepers or your timber capping where the liner overlaps when you fill it with water.
Finishing Touches and Maintaining a Raised Pond
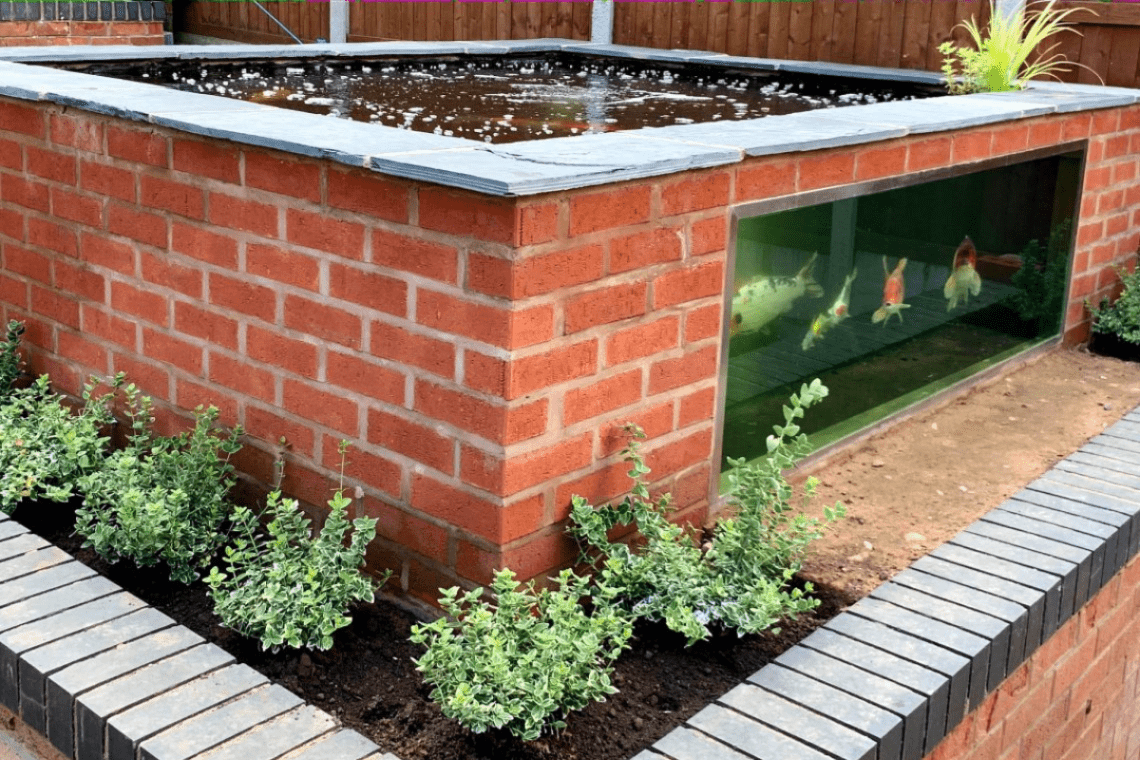
Garden ponds and fish ponds are very popular at the moment. You can add fish or plants to your pond to give it more life. However, ensure that the species of fish and/or plants are compatible with each other so that they are able to thrive.
For a garden pond or wildlife pond, you should add 6–8 inches of low-nutrient clay soil at the surface of the pond to make it easier for your plants to grow. Ensure that the tall plants are planted at the back of the pond and the shorter plants in the front.
For fish ponds or a koi pond, you should install a water filtration system to ensure that the water quality is optimal for a healthy living environment that they can thrive in. The pond filter and pump will also ensure that all the fish waste is taken care of, so ensure you purchase the correct pump type depending on the size and depth of your pond.
You should check the water quality and filters from time to time to ensure that the fish are well taken care of.
Final Thoughts
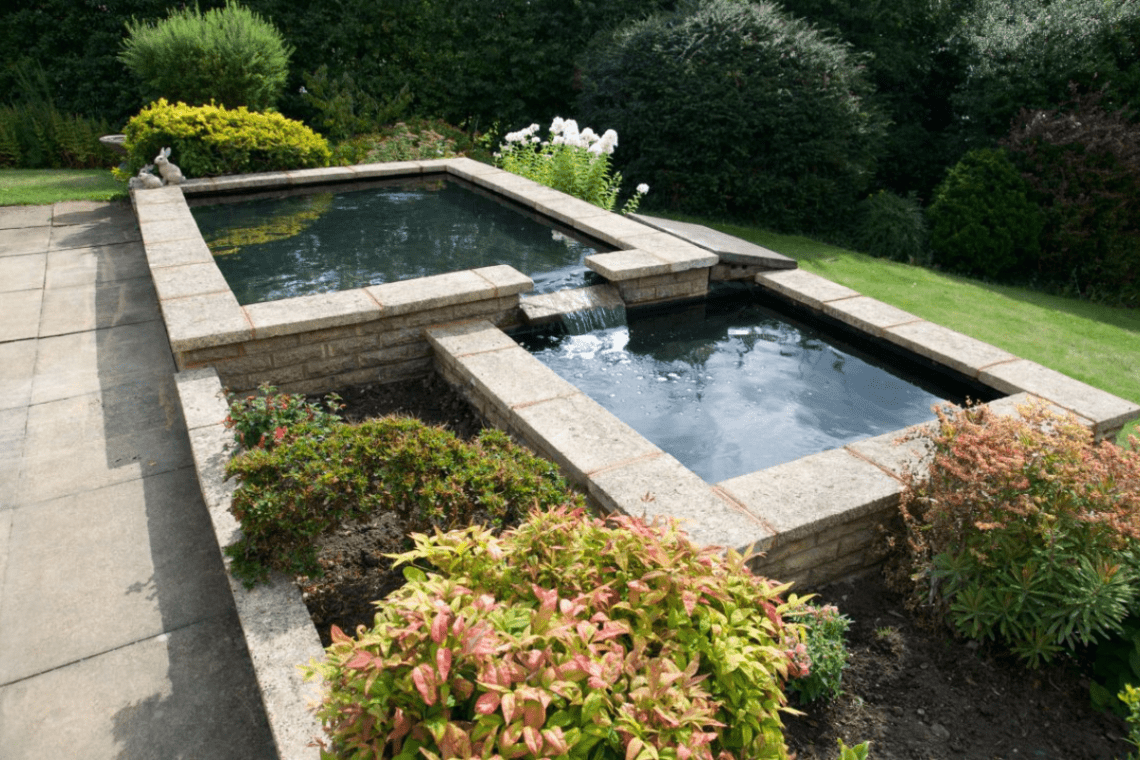
A raised pond is a practical and stylish addition to any garden, offering a unique way to enhance your outdoor space. With the right approach and a good quality pond liner, you can create a beautiful and functional feature.
For professional help, trust Ponds by Michael Wheat to bring your vision to life with our expert craftsmanship. And to keep your pond in top condition (and save yourself some hassle!), check out our Pond Maintenance Packages.
Start building the perfect raised pond that you’ll enjoy for years to come!
FAQ for Building a Raised Pond
Can I build a raised pond on my type of land?
If you own your home, your property is considered “permitted development” and does not require planning permission. However, you may need to obtain planning permission to build a pond where it is visible from the road or if you live in a listed property, conservation area or AONB
How long does it take to build a raised pond?
The time it takes to install a pond is dependent on size, purpose, access, and landscaping. Ponds by Michael Wheat have installed projects within 2-3 days and also up to 3 weeks.
What are the best plants for a raised pond?
If you are opting for a raised garden pond, floating plants and marginal plants are fairly popular for small garden ponds. Deep marginal plants are an option if your pond has more depth. Consider the size of your pond and its position to the sun before you make your choice.
Pond plants that would compliment the rest of your garden well are:
- Water lilies
- Water mint
- Water forget-me-not
- Fanwort
- Waterweed – Elodea
- Brooklime – Veronica Becabunda
- Flag Iris
- Frogbit – Hydrocharis
- Creepy Jenny
- Hornwort
Not all plants are recommended in all types of ponds; for instance, its not recommended to have plants with roots below water level in Koi Ponds as Koi may nibble the roots. This is one of the reasons why it is recommended to hire an expert like Ponds by Michael Wheat to install your pond project.